
In this post we will explain how to check-in and check-out on a project.
To check out, we have two options:
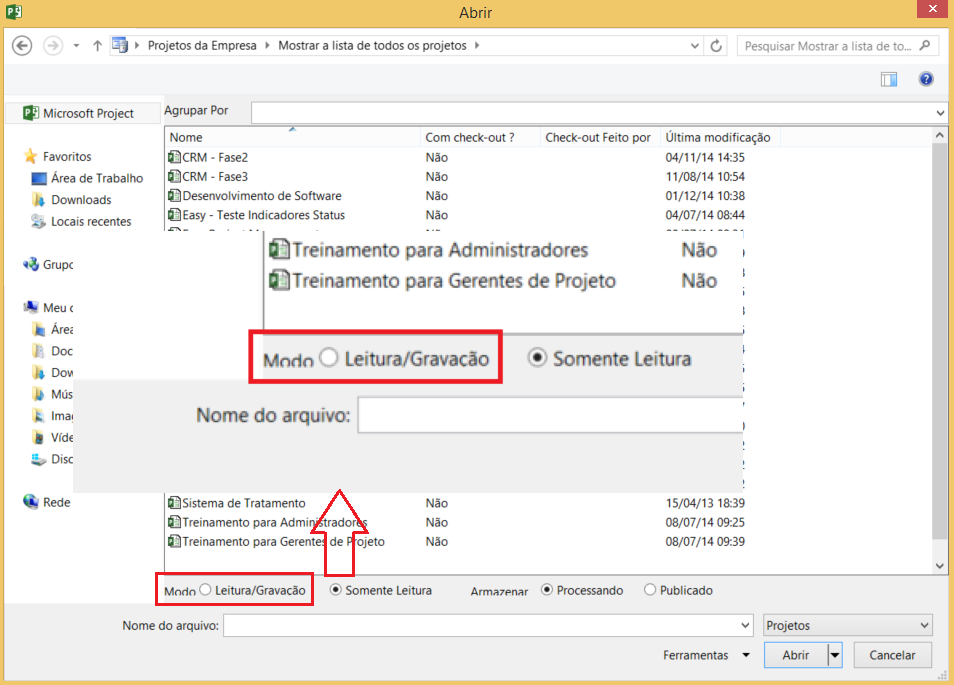
1 - When selecting a project to open, you will have the option to select the display mode, which can be “Read/Written” or “Read Only”.
Selecting the option “Reading/Recording”, it will open the project and automatically check out.
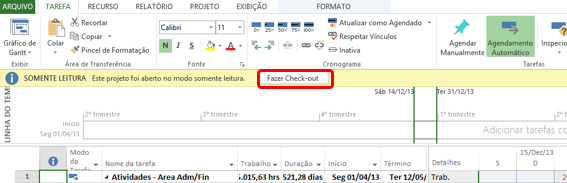
2 - Still choosing the display mode by selecting the Read-only option after opening the project, the message will appear below.
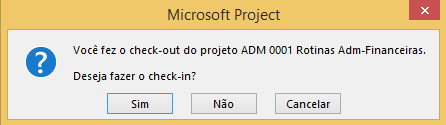
To check in, click to close the project and a window will appear requesting check-in. Click on “Yes”.
Original content from the MLPro editorial library, fully preserved and translated for the English website.